Soft Focus Imagining
Welcome back my friends to the show that never ends, we're so glad you could attend, Come inside! Come inside
We would like it to be known, the exhibits that were shown, were exclusively our own, All our own. All our own
(Group: ELP Album: Brain Salad Surgery Song: Karn Evil 9 - Music player has all parts: 1st Impression-2nd Impression-3rd Impression)

General Information.
-"Being a woman is a terribly difficult task, since it consists principally in dealing with men." - Joseph Conrad
Once upon a time in a decade far far away this used to be my main photography site. But as time moved forward better software and better ways of displaying photography were designed and written. This especially came true when PHP became very solid and FPM (Fast Process Manager) was able to to push web pages out as fast as the internet would allow.
I tried many of the CMS (content management system) designed software packages. I started off using Wordpress (when it was a bit of a mess), quickly moved to Joomla (very solid and still a good way to go) for my web sites. The problem with any CMS system is upkeep. With PHP pushing out new releases continually, the CMS software packages were having to constantly update their software to match. So I spent a ton of time keeping my server up to-date and fully operational. The problem was, it did not always work. Example. I was using PIWIGO to design my two main photography web sites. When the move came from PHP 7.5 to PHP 8.0 some important functionality stopped working. I waited and waited for a fix, never coming, and this was a blow because all the photographs that were linked in the search engine stopped working. After a frustrating 6 months I gave up and started to look into using different software.
In the past I looked at Gallery 2 ZENPhoto, Coppermine
(You also have to be careful on what you choose! i.e. Coppermine seems to be dead as according to their website it was last updated on 21 December 2018. Yet I have found sites that have it still as #1.
Gallery2 was probably one of the best pieces of photo / art gallery software developed. Even though it's over 15 years since it "died" I still consider it head and shoulders above what is available today. It was full of functions where you could design a site exactly how you needed it to look. Sadly the developers of Gallery 2 decided it was getting hard for them to maintain so started on Gallery 3. It was never finished and never came close as to being an alternative to Gallery 2
Another issue that has to also be considered is, does the software natively use the .webp / .webm format for photographs and videos, and if you want good SEO (Search Engine Optimisation) results then that's imperative ).
SEO (Search Engine Optimisation) results then that's imperative ).Here is a list of what I use to run my server.
The Server is AMD Zen based with 64 Gigabytes of memory and lots of SSD drives for storage. (Photo galleries eat disk space). The server uses UBUNTU software to power all the applications.
Web Server: Apache 2 / Database handler: MySql / Email: Postfix / Firewall: Shorewall / Web Server Optimisation: Pink Floyd, ummm I mean VirtualMin. I also use a service that keeps the Linux Kernel up to-date without having to reboot the system, The server has stayed totally up-date for the last three years with no reboot required.
That's the basics! So, as I mentioned above I needed to change my approach and try to ease the burden of support for all those PHP driven software packages.
I hunted around and found a software package called jAlbum (link to Wikipedia, good description) . jAlbum is what most would call "old school" as it generates HTML using the latest HTML5. I tried their free version and really liked what I saw. So, lets go old school! I did. Easy to use once you have staggered up a step learning curve, but don't let that put you off. It's worth the effort and their support Forum is perfect and you get answers quickly.
After purchasing jAlbum and redesigning from the ground up my two main galleries, had an email from them that offered a discount for WebSite X5, had a quick look at their site, and WOW, again it was "old school" HTML (though a couple of utilities do need PHP and MySql, but nothing like a CMS system that heavily relies on both)!
Tried WebSite X5 again using the "free" version. Another steep uphill learning experience, but well worth the effort. Their support is 2nd to none when it comes to on-line support for a software package. While I was grasping what this software could actually do I had to write a few questions so that I fully understood. I had an answer in 24 hours (next day). Again, this package fully supports HTML5, so I'm now redesigning all my Joomla web-sites with WebSite X5. (As you can see looking at this page!)
All of the incredible tools under the Linux banner, are published under the GPL2 license, without which sites like this would not be possible without heavy financial outlays.
The really good thing about about jAlbum and Website X5 is that although they were not free tools (I bought the Pro version of both) they both run on my Windows 11 machine, so I can still keep everything native to my machine and because both have good preview windows, can happily make sure that everything is working correctly BEFORE publishing. That was not possible when using a CMS system, had to mess around on my server to get it all working correctly.
 Links to the above sites are only provided in case your suffering with severe insomnia and you desperately want to fall asleep at 3:00 in the morning reading "technical stuff" (except the link to Pink Floyd's - Rock and Roll Hall of Fame).
About the Photography
Most of the photographs shown on on any of my websites are available for sale or high quality printing, unless otherwise noted. All prints are produced professionally and of the highest quality available. Please contact me if you find something that you would like printed up-to 27 X 17 inches using an Epson printer and their high quality gallery ink.
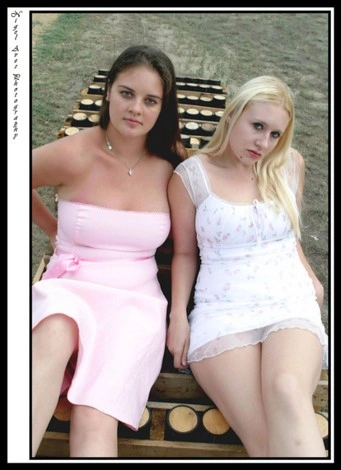
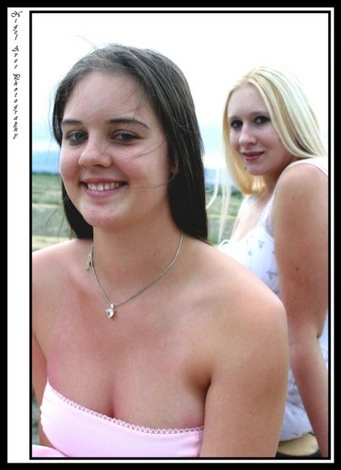
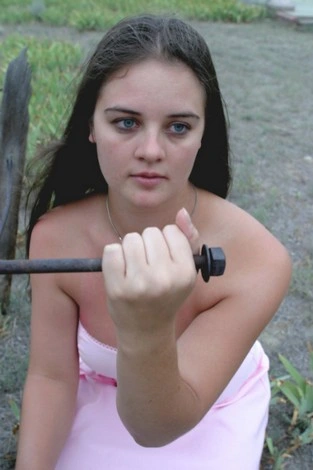
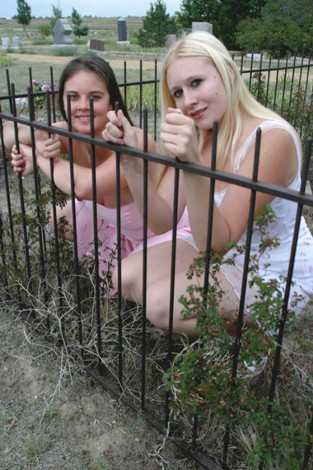
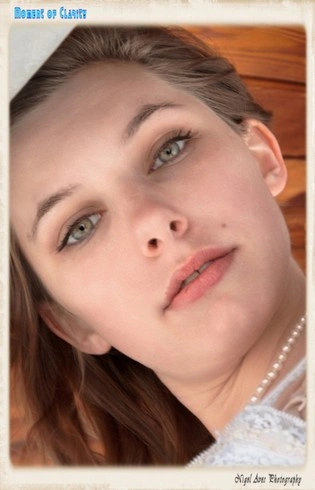
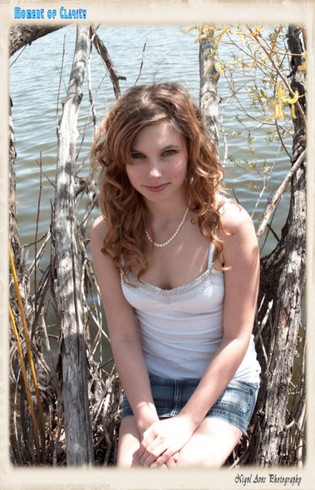
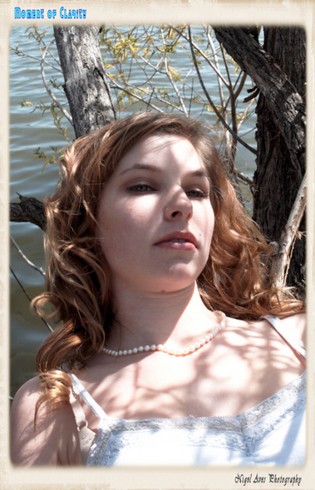
Photoshoot Sessions (High Quality Digital - Canon).
I am always wanting to work with new models, so if you fancy becoming a model for a day (or longer) or your a model looking for new portfolio photographs, please do not hesitate to contact me. These Photo-shoots are very reasonable priced and are highly affordable.
Your payment includes a delivery medium (your choice) with all photographs from the session on it. I will also provide high quality prints up to 17 X 27 inches using the best quality Epson ink available and on a paper of your choice (up to 3 prints included).
Minor digital editing is done as part of the package, this includes converting from RAW format, colour correction etc, but if major editing is required this costs extra.
BTW: If you would like to see the other side of Nigel doing his video studio interviews, follow this link to my other web-site. Link to Nigel's Video Interviews.
Playing Star Again?
or just my 15 minutes of fame!
The video on the left, NO, the other left, was recorded at the start of the Captn's Lounge.
If you watch it, then wait till the end, I could not help my self and had to include a short clip from Blazing Saddles!
I need to interview YOU, NOW!